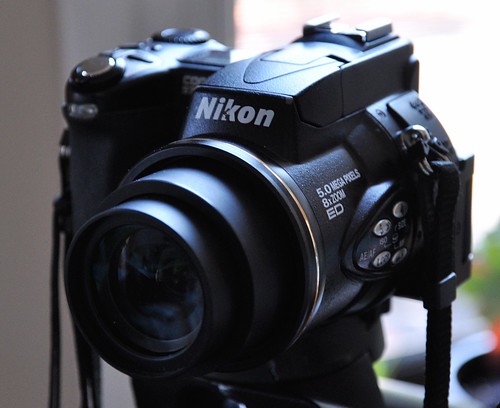
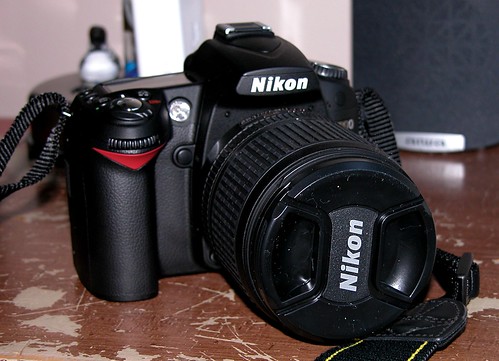
Get excited, folks. The photo quality on this blog is about to get better. This weekend, in a moment of fiscal irresponsibility/economic duty, I went out and bought myself a new camera. A new Nikon D90, to be precise. After an hour of haggling over, well, nothing with the sales girl and a sizable depletion of my bank account, I am now the proud owner of my very own digital SLR. And I couldn't be happier. I love my old camera. It's a very nice digital prosumer (Nikon Coolpix 5700) -- it was top of the line when I got it in 2002 -- but six years is a long time in digital camera years, and it was time for an upgrade.
My old lovely:
My new lovely:
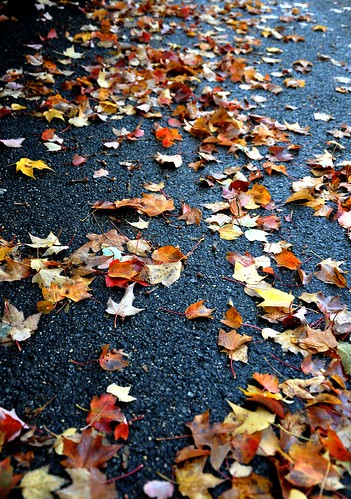
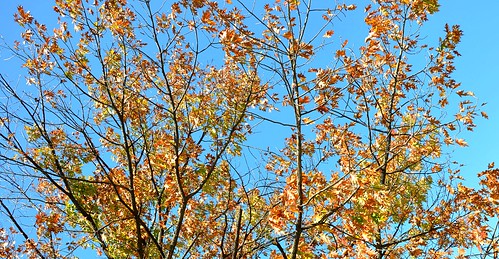
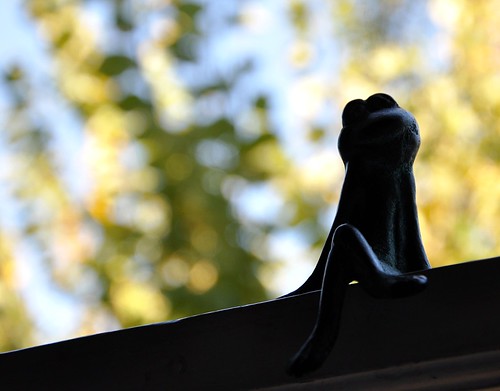
I haven't gotten to play around with it as much as I would like yet because the majority of this weekend was spent hiding from the rain or scurrying to meet some fast-approaching deadlines for work. But here are a couple of shots of randomness to quell your appetites (OK, to quell my appetite). Soon enough, my friends, soon enough. Happy Monday.

Monday, October 27, 2008
Stimulating the economy


Sunday, October 26, 2008
More socks
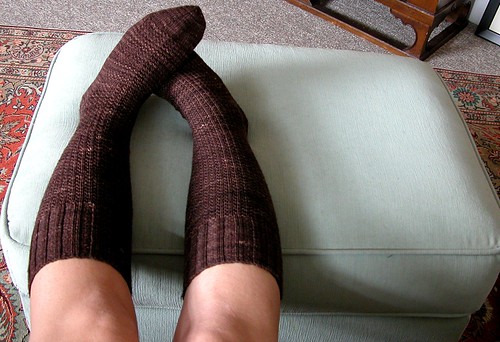
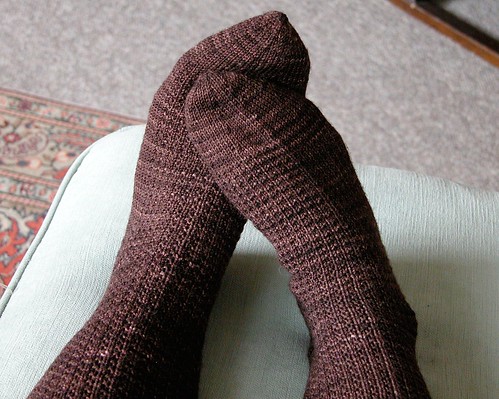
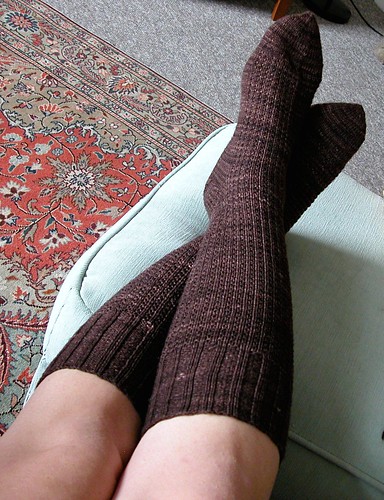
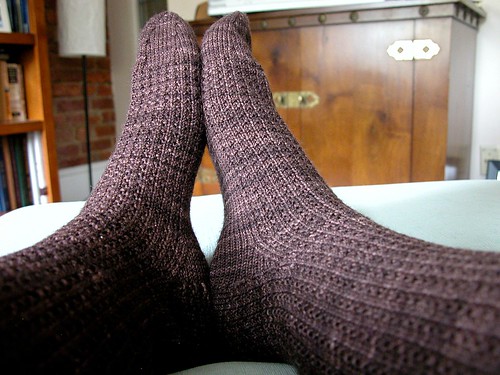
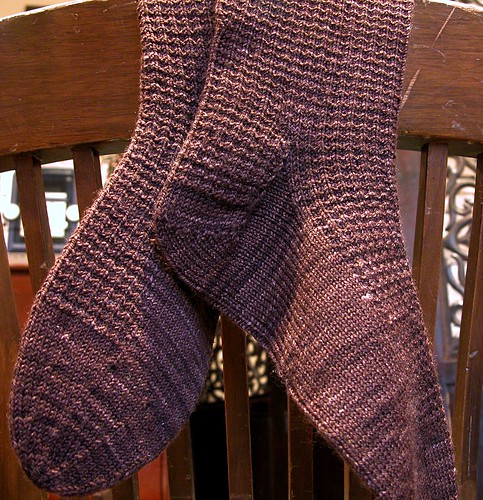
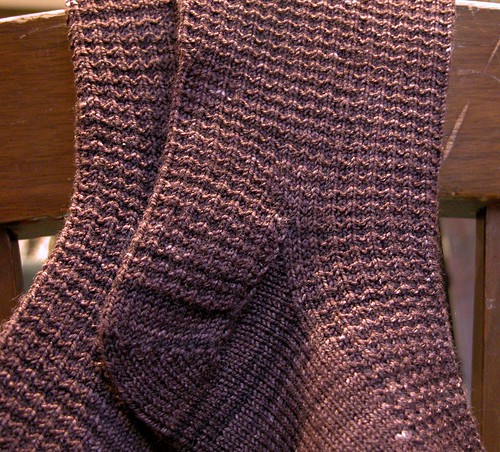
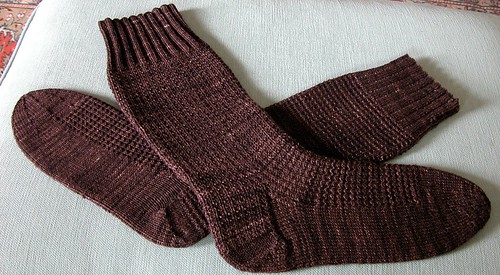
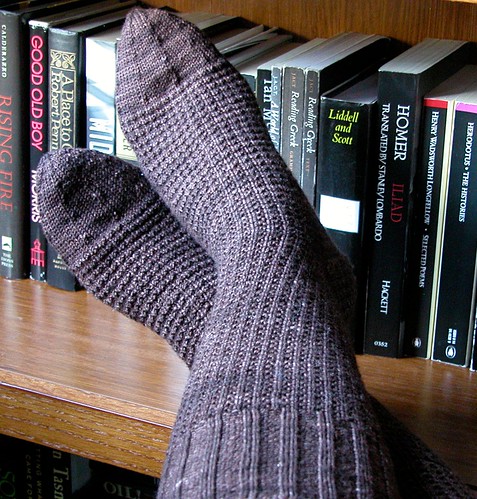
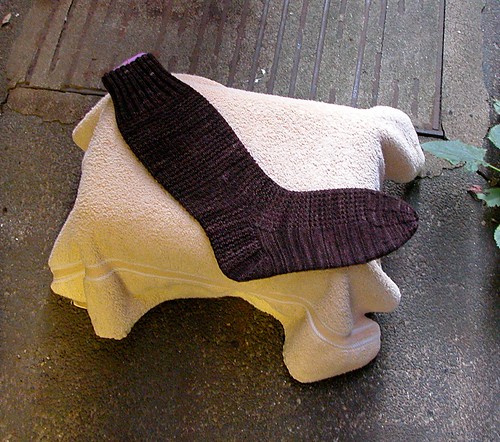
I just finished editing a few more pictures of my brother's work socks. They're all up on Ravelry (subtropicalkatie), but I thought I'd share them here too.
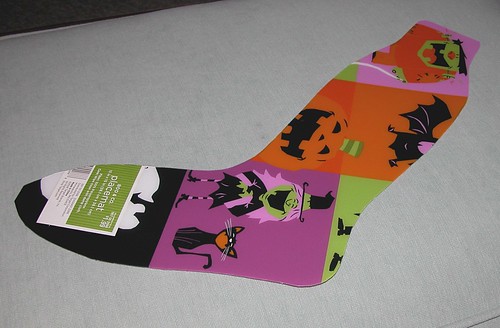
Halloween place mat sock blocker
Friday, October 24, 2008
A tale of two socks
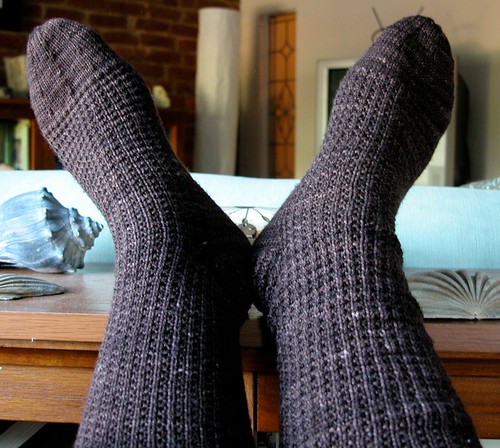
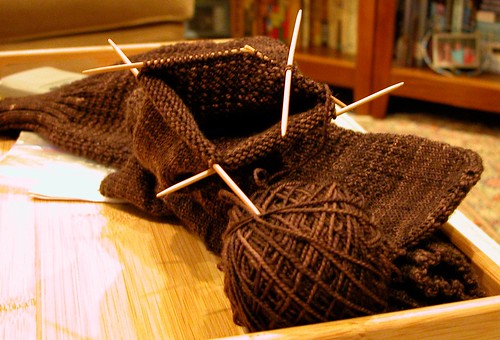
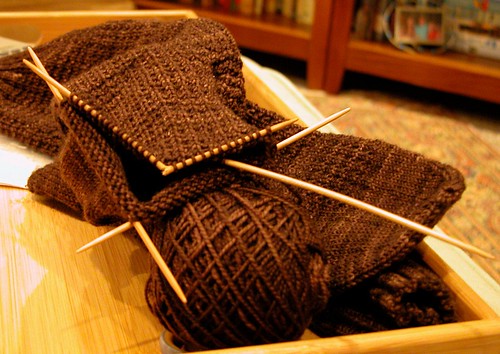
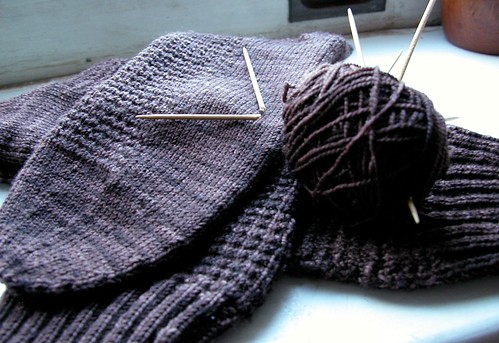
My patient brother was the only member of my family not to get a handmade gift for Christmas last year, so I told him he could choose any item he wanted, and I would make it first thing in 2008. He chose socks -- specifically Nancy Bush's Gentleman's Half Hose in Ringwood Pattern from her book "Knitting Vintage Socks." I had never made finished a pair of socks before. So I wasn't quite prepared for what was in store: millions of tiny, tiny stitches in the same pattern for rows and rows and rows. And then you have to repeat the same thing all over again for the second one. So here it is nearly 10 months to the day from my promise, and I'm finally delivering the goods. To my credit, 2008 has been a crazy year with two moves, a new job, an impromptu trip to Paris, among other things. But the real reason for the delay is that I really don't like making socks -- perhaps more specifically, I really don't like making second socks. The first one was finished before I moved away from New Orleans in February. And I've been "working" on the second one ever since. So Hunter, I hope you like these socks because they are more than likely the only *pair* I will ever make.
Without further ado, a pictorial essay of Hunter's work socks:
I knitted so much that I snapped a needle. (Or maybe I just got so frustrated when I realized I had dropped two stitches...)
Poor broken needle. Luckily these suckers come in sets of five.
Finally finished!! Trying them on for size. Way too big for me...
More sampling. Koigu is really soft and lovely. Those Canadians know what they're doing. These socks, however, are not at all flattering on my legs. Here's hoping they look better on Hunter.
Sock blocking.
Drying on the "veranda" (aka my sketchy fire escape).
More dryage. I made my sock blocker (singular) out of a Halloween place mat from Target. Unfortunately one place mat was not big enough to make two blockers, so these suckers took extra long to dry.
And now, all the stitches are set, they're boxed and ready. Keep an eye out for the postman, Hunter, cause your socks are finally on their way!



Friday, October 17, 2008
Hipster headwear
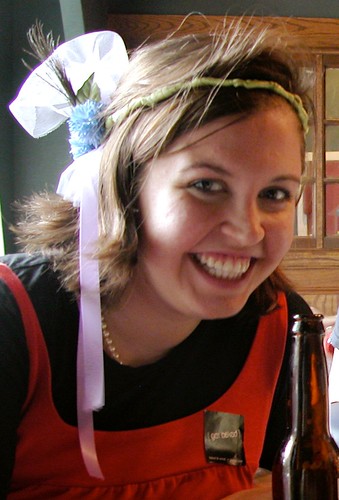
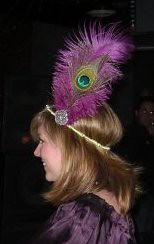
My shopping guru stumbled upon these amazing headbands not long ago, and I was instantly smitten. Not willing able to shell out $150+ for such a novelty item, however, I decided to take matters into my own hands. Armed with my trusty hot glue gun and an array of random odds and ends from Michael’s, I cranked out three of these lovelies a couple weeks ago for myself and two friends to wear during a certain birthday weekend. Kate’s headband is above, and mine is below. I’ll show Richele’s in a separate post once I get a better picture. And I’ve been commissioned to make one for a more age-appropriate customer, Richele’s 2-year-old niece, Layla. Once that one is done -- Richele, I need her head measurements! -- there will be even more hipster headgear to showcase. Happy weekend everyone!
Thursday, October 16, 2008
Gimpy
Photography has always been something I’ve enjoyed and dabbled with. In my high school journalism classes more than a decade ago (yikes!), we learned all about composure and framing, contrast and light, as well the technical aspects of using SLR cameras -- film back in those days, not digital. Another aspect of those classes was learning to use Photoshop for editing the photos. I quickly learned that just as a good editor can turn an average piece of writing into a literary masterpiece, a good photo editor can do the same for a photograph, albeit with more technical tools. Luckily (?) for me, I was in school for many, many years beyond high school, so I was able to keep easy access to Photoshop. Those academics love their fancy software. But ever since I’ve been out in the *real* world, my life has been sadly Photoshop-free.
I still enjoy photography. And I have still edited my photos -- to some degree. But until recently, it was not at the level that I would have liked. I got a free copy of Adobe Photoshop Elements somewhere, but it just offended me with its simplicity. So essentially I haven’t had access to good photo-editing software since 2006. Until now.
Thanks to my good friend Hilary’s advice, I downloaded Gimp. It’s freeware, which is awesome compared with $700 for CS4. But it’s got a lot of the capabilities -- and functions very similarly to -- the old Photoshop I know and love. So far I’ve just used it on my PC at work because I don’t have Internet at home. So I don’t know how it will work on my Mac, but as soon as Verizon stops hating me and I’m back in Web-land, I plan on downloading that version and testing it out as well.
I’m an idiot and forgot my jump drive at home today with all my before-and-after edited photos to show off (again, no Internet at home -- so frustrating). I had all these lovely images of fall leaves and DC scenes. But oh well. Instead, I’ll show you Richele. Richele is Washington’s newest Examiner blogger, and she needed a profile picture for her bio. So she called on me, her trusty life assistant, to help out. Here’s the picture we started with. Obviously she didn’t want other people in the shot, but she liked this picture. So I told her I’d work some magic. 
Normally I’m not one to alter reality (i.e., delete light posts, flip images, etc.), but I figured since this was for a bio picture, it was OK to take out all the background noise so it didn’t appear that she had strange plastic things growing out of her head. I didn’t have a lot of time to work on it, so the contrast between her head and the background is a little fuzzier than I'd like. But all in all, I -- and she -- was pleased. And now I'm spreading the word about Gimp, which I'm the last person in the world to know about, per usual.

Friday, October 10, 2008
The best time of year
Every now and again, I get a mild case of homesicknesses -- crazy, I know, for someone who has lived in seven cities in five states during the past 10 years (I just counted, I've moved 15 times in that period!). And rarer still, are the times that I feel nostalgia for Subtropical Paradise. But one of those rare occurrences has been happening during the past month or so. Chalk it up to missing out on a presidential debate in my hometown as well as some golden gridiron moments or turning a year older, but nonetheless I've been missing recently the rolling hills of Oxford, Saturday afternoons in the Grove, and humid Wednesday evenings spent sweating and listening to jazz in Lafayette Square.
But then something happened. The days started getting shorter. The nights started getting chilly. And before I knew it, fall was here, and I remembered why I love the East Coast so much.
Last weekend, I drove a friend to her hometown in West Virginia and decided to take the long way back to enjoy a solo romantic drive through the mountains to see the leaves that are beginning to change -- and let's be honest, to stop by Sonic in Winchester (a tried and true homesickness remedy). Doing so also allowed me to snag a whole bushel of freshly picked West Virginia apples (or maybe it's a peck -- I can never remember the difference).
I must backtrack now and explain that my family is known for our love of apples. I do, after all, share my birthday with John Chapman, aka Johnny Appleseed. There's a story that often gets shared at holiday gatherings about the time I told my parents' friend who was offering a much-younger me something to drink that no, I wouldn't like a Coke or milk. "I'd like apple juice, please." And my sister has a similar penchant for the fruit. In fact, one of her many nicknames, Teej, is strangely enough derived from her affinity for apple juice.
But this is all an aside from the story at hand: my elation at scoring the mother lode.
Obviously I had to do something with my apples. I ate a bunch. And I made some applesauce. But my honest-to-goodness "grown-up" favorite way to use apples is to make apple pie.
So I made some -- lots, in fact.
And they were delicious. My favorite apple pie recipe has been stiched together from several years of trial and error. And I'm pretty pleased with the current product. Or at least I was until I saw this recipe today. Thank goodness I'm going apple picking next weekend, so I can try it out.
But until then, here's the current front-runner. Enjoy!
Katie's Apple Crumb Pie
Ingredients:
1 pie shell (store-bought or I usually use a generic Better Homes and Garden recipe)
6 cups peeled and sliced cooking apples
1 teaspoon lemon juice
1/2 cup sugar
1 teaspoon cinammon
Dash of nutmeg
1 cup flour (sifted)
1/2 cup brown sugar
Dash of salt
Stick of butter
Preheat oven to 375 degrees.
Wash, peel, and slice the apples. Toss apple slices with lemon juice in a large bowl. Add sugar, cinammon, and nutmeg. Stir to coat all the apples, then add the apple mixture to the pie shell. Set aside.
In a separate bowl, mix flour, brown sugar, and salt with butter until the mixture is crumbly. (I usually let my butter sit out for a while first so it's softer to work with, but don't wait too long or your crumb topping will end up runny).
Sprinkle the crumb mixture on top of the apples and bake for about 45-50 minutes or until the apples are soft.